As we age, engaging in creative and hands-on activities becomes increasingly important for maintaining cognitive health and overall well-being. Woodworking is perfect for this. It’s fun, practical, and a great chance to flex those creative muscles.
For folks living in senior communities, it gets even better. Forming bonds over shared skills while crafting useful art pieces could be the unique experience you’ve been looking for. This article has some simple woodworking DIYs just right for seniors’ safety and enjoyment levels.
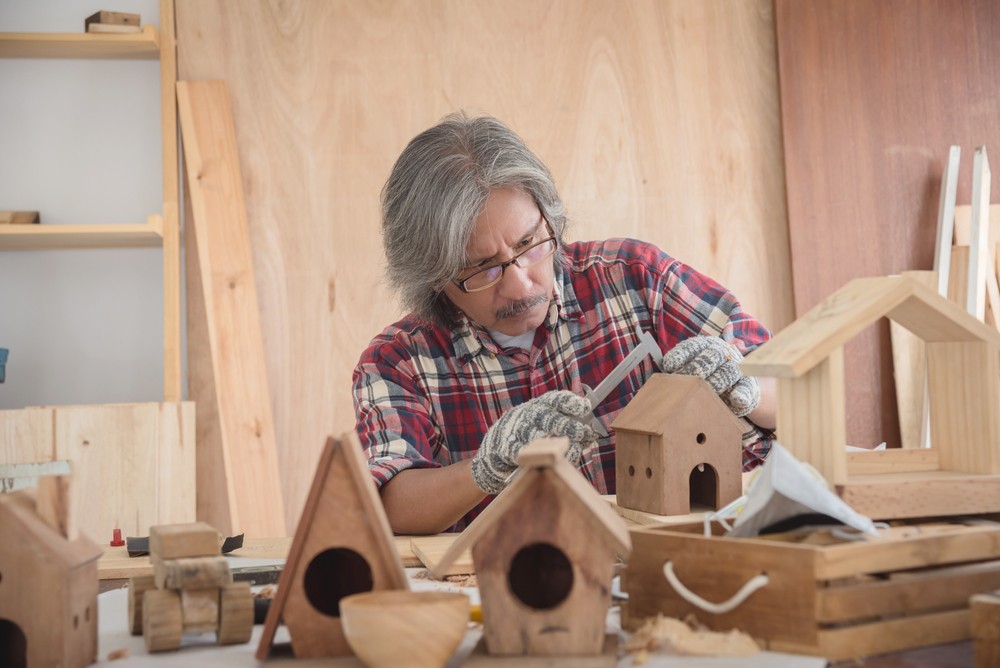
Customized Birdhouses: A Window to Nature’s Wonders
Do you want a fun, easy project? Try building a birdhouse. Seniors can have a blast crafting little homes for birds. It’s so satisfying to see different feathered friends stop by.
The design is simple enough that you can add your own style and flair. Each birdhouse becomes one-of-a-kind. It’s not just about getting creative. This activity also brings us closer to nature in the most calming way possible—all from our backyard or balcony.
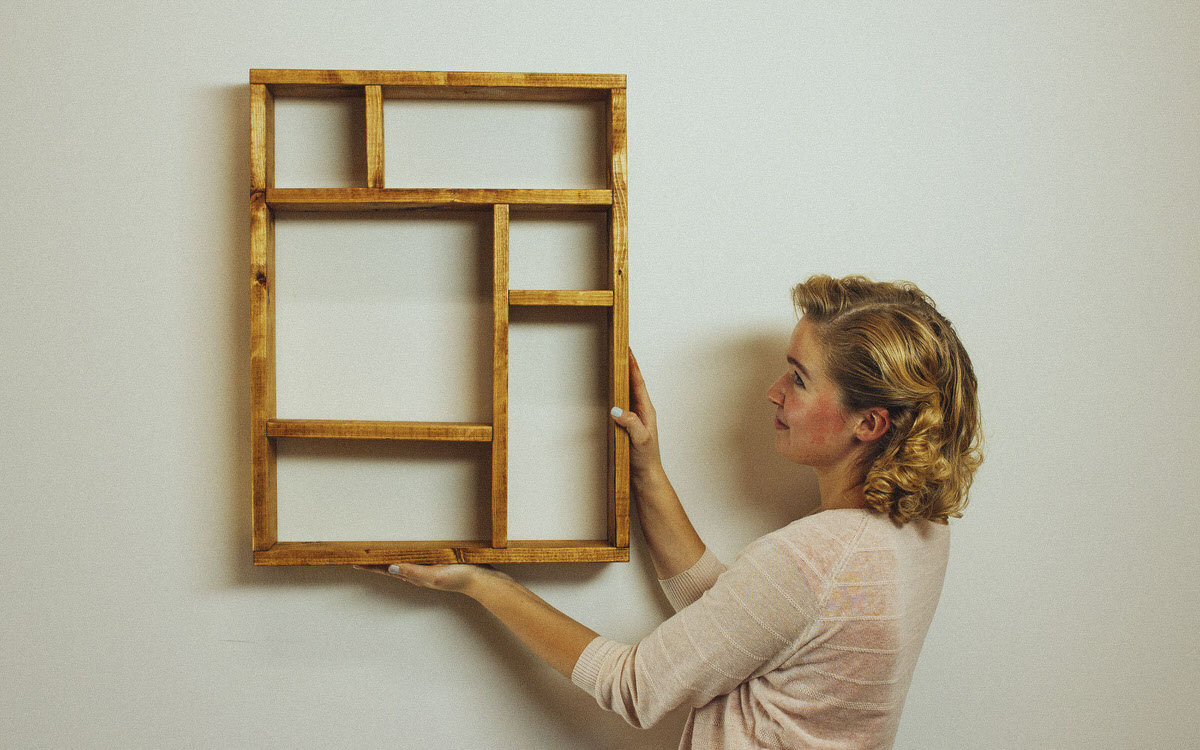
Personalized Picture Frames: Capturing Memories in Wood
Do you prefer making your own picture frames? It’s an awesome woodworking task for seniors. Whether you like it simple and raw or prefer something fancy, there are tons of designs to choose from.
Match each frame with a specific photo, and they’ll feel personal and special. Measuring, cutting, and piecing together the wood are all part of crafting magic that keeps our fine motor skills sharp as ever. This also gives a sense of accomplishment when family photos or artwork are beautifully displayed in these custom-made frames.
Handy Garden Planters: Cultivating Green Thumbs
Do you have a green thumb and love working with wood? Try making garden planters. They can be small boxes for herbs or bigger ones for flowers or veggies.
Woodworking meets gardening in this project, which is as practical as it’s fun! Watching your plants flourish in the planter you’ve crafted just brings joy to the heart—not to mention how these pretty greens will liven up your space with natural beauty.
Custom Wooden Coasters: Functional Art at Home
How about making some wooden coasters? It’s a simple, artsy project for seniors—just cut and sand the wood. Then comes the fun part of painting or burning designs onto it.
These aren’t just pretty—they save your tables from hot or cold drink damage, too! Plus, they add an extra personal touch to any room’s decor. Whether you give them out or use them at home, it’s a tiny task that brings big joy.
Conclusion
Woodworking is more than just a pastime for seniors—it’s fun, creative, and skillful. Think about projects like birdhouses, picture frames, garden planters, or wooden coasters—that’s satisfaction right there!
Not only do these tasks give you the feeling of achievement, but they also improve your quality of life. These endeavors provide a sense of accomplishment and the pleasure of crafting something meaningful.
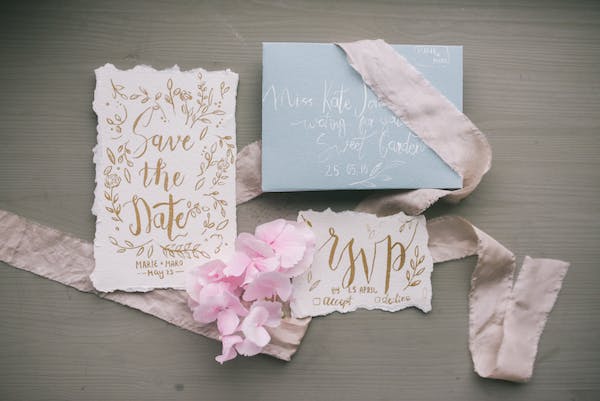 The cost of getting wedding invitations can vary in different ranges from almost a few pennies to thousands of Dollars. The upper cap does not have a particular limit, so as to say it can carry on to as much as you can expect. We mean if you have money, you can even send a person to deliver your invitation to each house with lots of goodies. You can spend as much as you want, and you also have the option of saving as much as you want. You can even spend no money, and you’ll still be able to send an invitation to every friend and family. If you want to save it all, you can just send an invitation over email, and you have to spend no penny on any formal card printing and stuff. But in general, people who like to spend some money to make their invitations memorable would have things in mind that fit the budget they set for spending on wedding invitations.