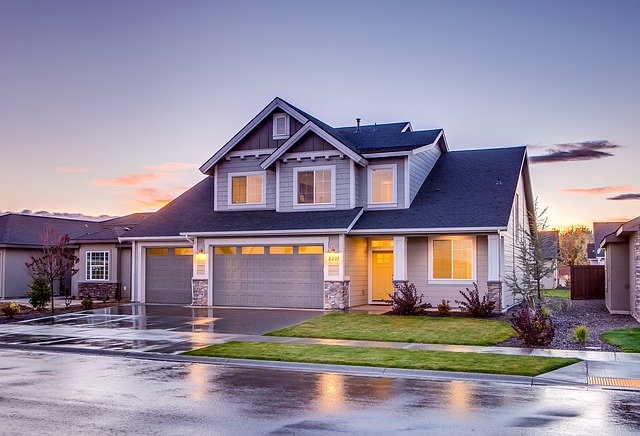
The roof over your head is such an important part of life. It keeps your home structurally sound and protects you and your family rain or shine. If you’re living in Denver, you know how dramatic the weather can be. Hailstorms can throw anything from pea to softball-sized hail down on the city. Therefore, it’s even more important to be diligent about taking care of your roof. Here are five things you may be doing that you didn’t know are actually hurting your home.
Ignoring potential damage.
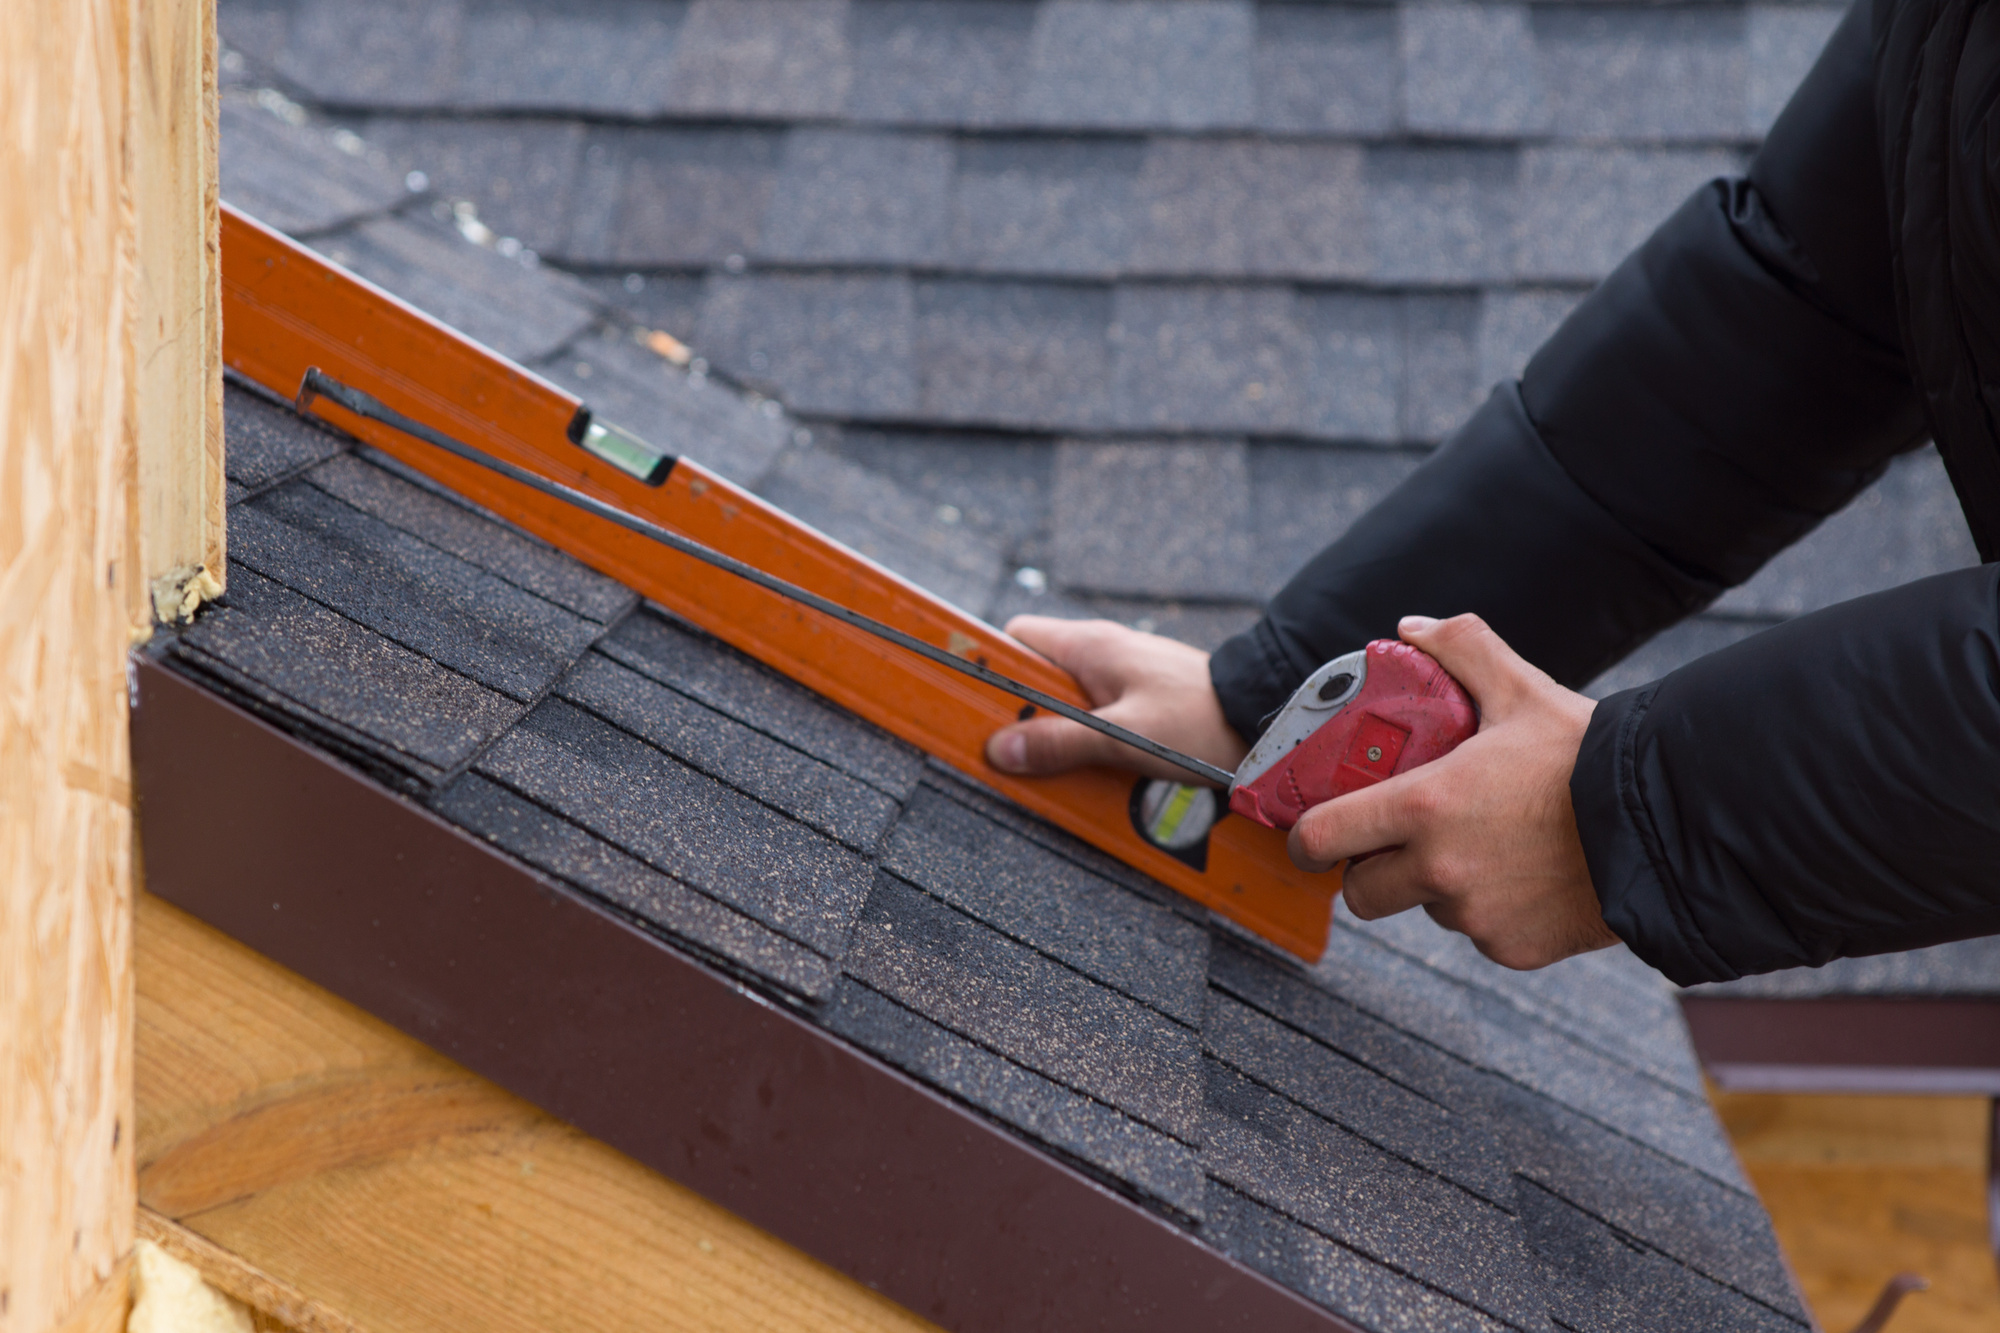
Denver’s hail can be quite a burden. You should really check out your roof after every hailstorm, even if you don’t think it was a particularly aggressive downpour. Look for signs of dented metal and craters or cracks on your shingles. It also doesn’t hurt to bring in professionals after a particularly large storm. To find the right people to trust, search for the best residential roofing Denver has to offer.
Metro City Roofing Services is there for you year-round, unlike other roofing companies that move in and out of areas based on when they have bad weather. They’re family-owned and operated with exceptional customer service, expert advice when it comes to insurance claims, and their staff consists of state-licensed independent adjusters. That means that Metro City Roofing Services can give you a thorough evaluation of your property using the same criteria as an insurance adjuster.
Skipping regular check-ups.
Just like going to the doctor for your regular check-up, it’s particularly important in Denver to have someone regularly inspect your roof. If a hailstorm rolls in and causes damage to your house, you need to be able to prove that the damage wasn’t preexisting in order to be covered by insurance. Roofing can be expensive. You don’t want to be stuck with a big bill, because you can’t prove that the damage was caused by the hailstorm.
Putting off repairs.
With regular inspections, much like going for your yearly checkup, the roofers may find a weak spot in your roof before it becomes a noticeable problem. That’s great news, as long as you follow the roofer’s recommendations and their timeline for patching up the problem. Damaged roofs can cause terrible structural damage to a home. Ultimately, paying now may save you an immense amount of money in the future when you don’t have to replace the structure of your home. It’s best to try to avoid putting off repairs.
Cleaning your roof with a power washer.
If your roof is looking a little dingy, it’s understandable that you would want to get in there and clean it with a power washer. Before you rent one out for the weekend, think again. Power washing your roof can actually significantly damage the materials that shingles are made of, especially depending on the types of roofs out there. This means you’re ultimately replacing your roof more frequently costing you a lot more money than if you’d used other methods. Call in the professionals for any kind of maintenance you need.
Living with a roof you don’t love.
You might think it’s silly to put so much of a focus on aesthetics, but Metro City Roofing Services’ clients are frequently reporting back how much their new roof improves the overall look of their home. By replacing your roof with something that has more design appeal than your current roofing, you’re actually buying into something that doesn’t just look great, it’s also functional. It’s one of the few times that a cosmetic fix is also a useful fix. Years down the road, adding curb appeal to your home could allow you to sell for a higher price than you originally thought. Also, buyers will love if the roof has been more recently updated.