Protein is the magic word that seems to drive conversations whether you’re in the kitchen or the gym. If you’re striving to cut weight or build muscles, your most obvious answer is going to be ‘protein.’
Given the high demand for this nutrient, people are always left wondering what would ensure the intake of the highest quality protein. The straight answer to that query is no single source of protein can be adequate. What you want is a variety of sources starting from edamame to proffee. You might be wondering what these are, or how to make proffee or edamame. To discover the answers, keep reading.
Animal Proteins
Animal proteins are one of the best and readily available sources of protein. According to a Harvard Health report, the Recommended Dietary Allowance (RDA) for protein is 0.8g of protein for every kilogram or 0.36g per pound of body weight for a regular person (athletes may have different requirements).
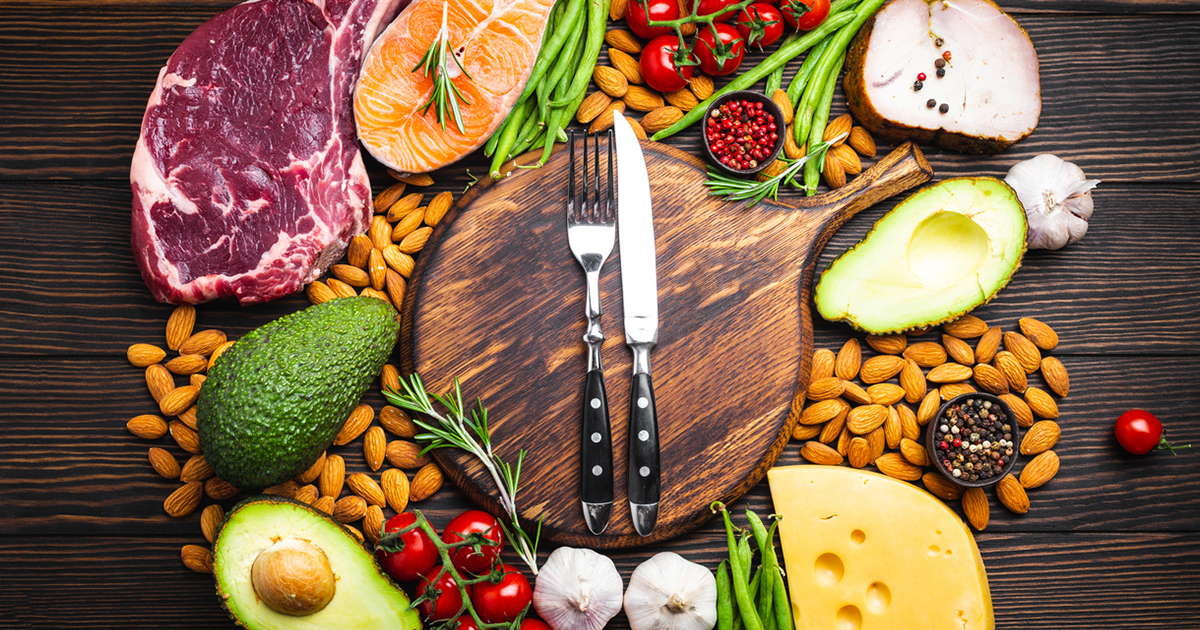
Researchers point out that just the intake of the daily recommended limit of protein is not enough. You have to equally diversify the protein intake in 20 – 30 grams parcels throughout the day for maximum absorption by the body. Here are some widely recommended sources of animal protein:
- Poultry
Red meat can increase bad cholesterol levels in the blood. Hence it is recommended to substitute red meat as much as possible with poultry. A 100g skinless roasted chicken contains 6.63g of fat and 25.01g of protein.
- Eggs
Eggs are an exceptional source of protein and essential fatty acids (EFA). One medium egg packs 5.53 g of protein. You can swap your breakfast cereal with whole eggs or egg whites to feel fuller for longer.
- Fish
Most fishes like tuna and salmon are an excellent source of lean protein and EFAs. Tuna is particularly rich in protein; a half-fillet serving of skipjack tuna packs 43.6 g of protein! Fish intake can increase levels of good cholesterol in the blood. Unlike poultry and eggs, there is a wide variety of types of fish that you can dabble in.
Plant Proteins
If you are a vegetarian, plant protein is your best friend to meet the minimum daily requirements of protein consumption. Of course, different edibles contain different amounts of essential amino acids (EAA), and protein sourced from plants have been shown to lack the full range of EAAs.
You should include a variety of plant protein sources in your diet. One of the highly preferred sources of plant protein is edamame. It is prepared by steaming unripened soybeans and can be served in a variety of preparations. One cup of edamame packs 19g of protein and aids in your weight loss journey.
But this is not the only legume that is rich in this nutrient. A cup of cooked peas contains 5.23g, while cooked pinto beans yield 15.4g of protein.
Proffee
Now, you might be wondering what if you cannot meet the daily recommended fraction of protein intake. The best answer for that is ‘proffee.’ You must have heard about protein powders and how they can supplement daily protein consumption. Proffee is a combination of coffee and protein powder.
How to make proffee?
The process is pretty straightforward. All you have to do is take a tall glass, add in the recommended dosage of protein powder and pour the coffee over it. Mix properly and drink up.
It is advisable always to try to find the best food sources to meet your nutritional requirements, as these can be absorbed by your body much more quickly.